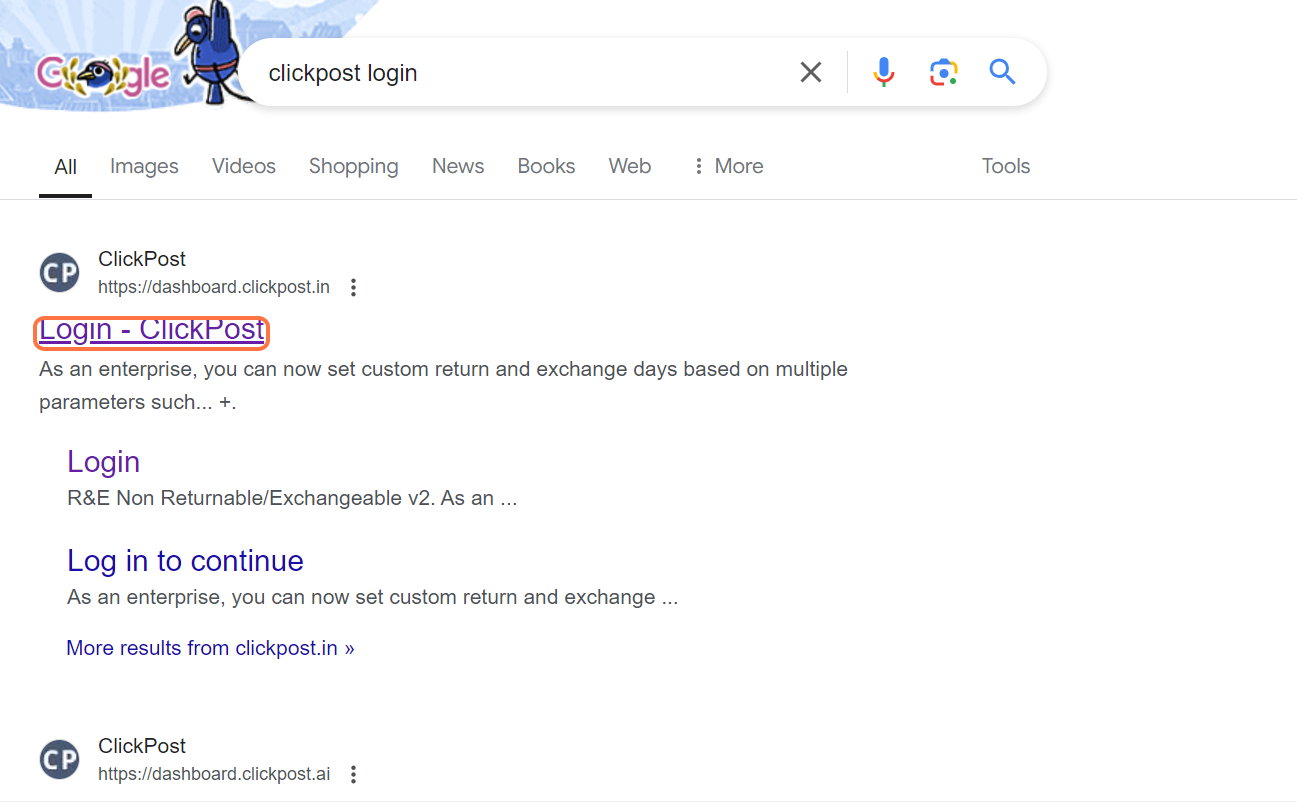
STEP 1: Navigate to Clickpost Dashboard
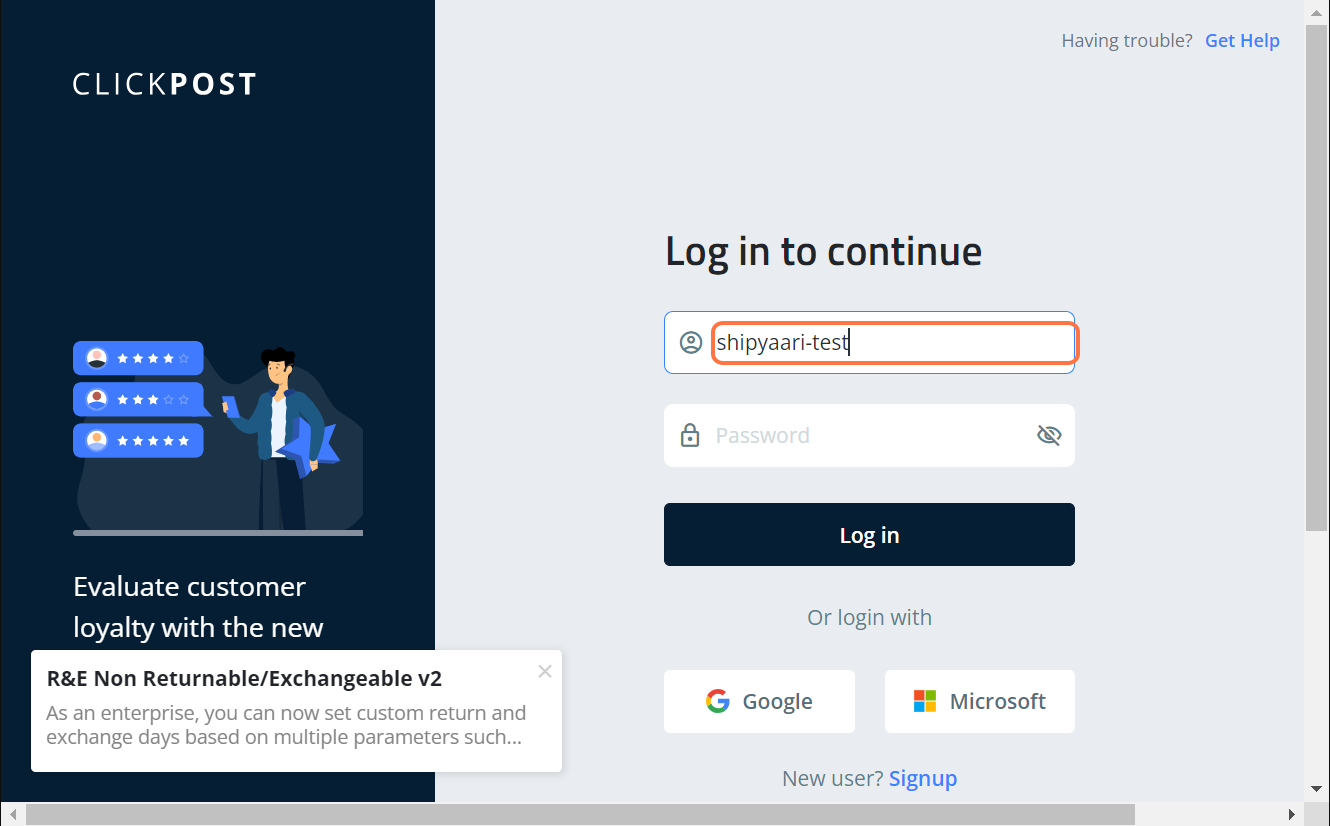
STEP 2: Enter the credentials on the login page to access your account.
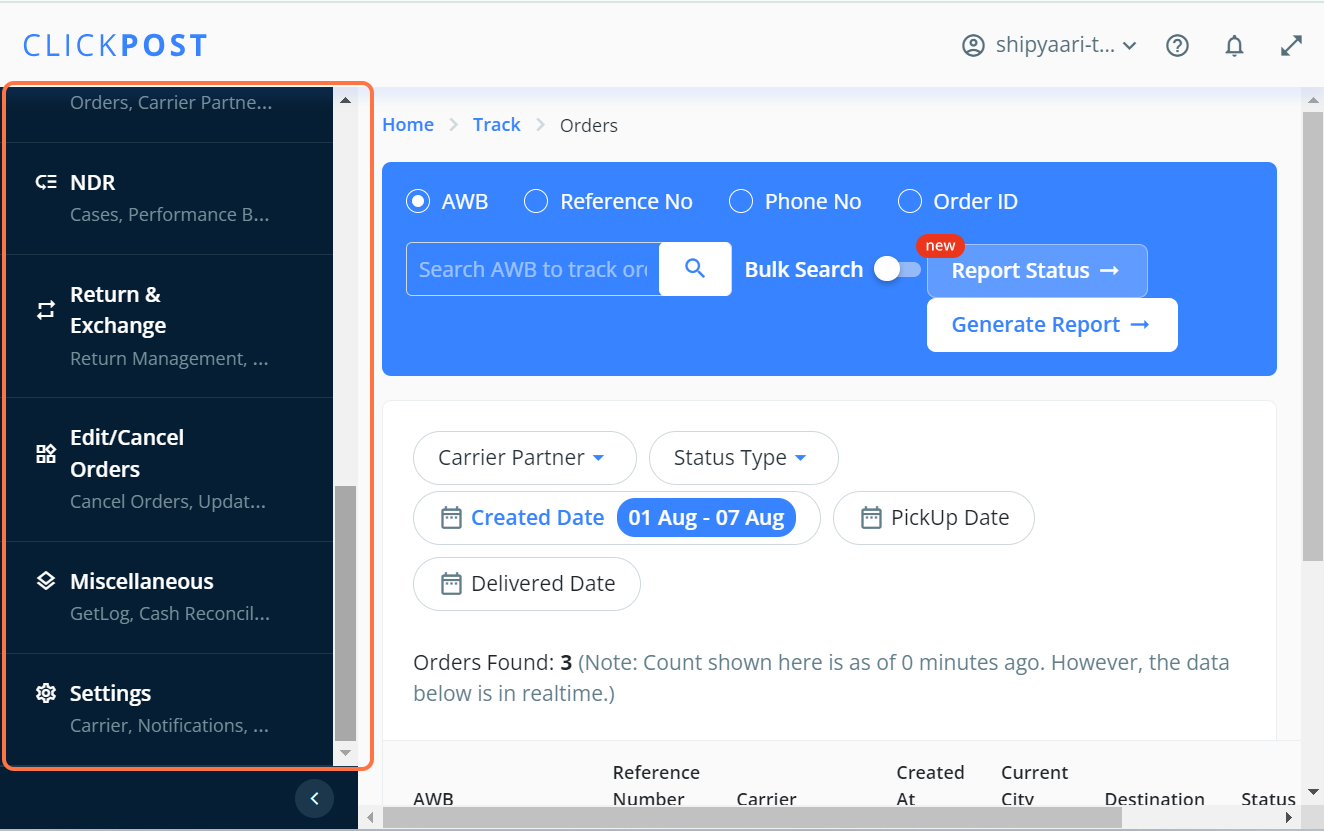
STEP3: Scroll down on the left side menu to find "Settings"
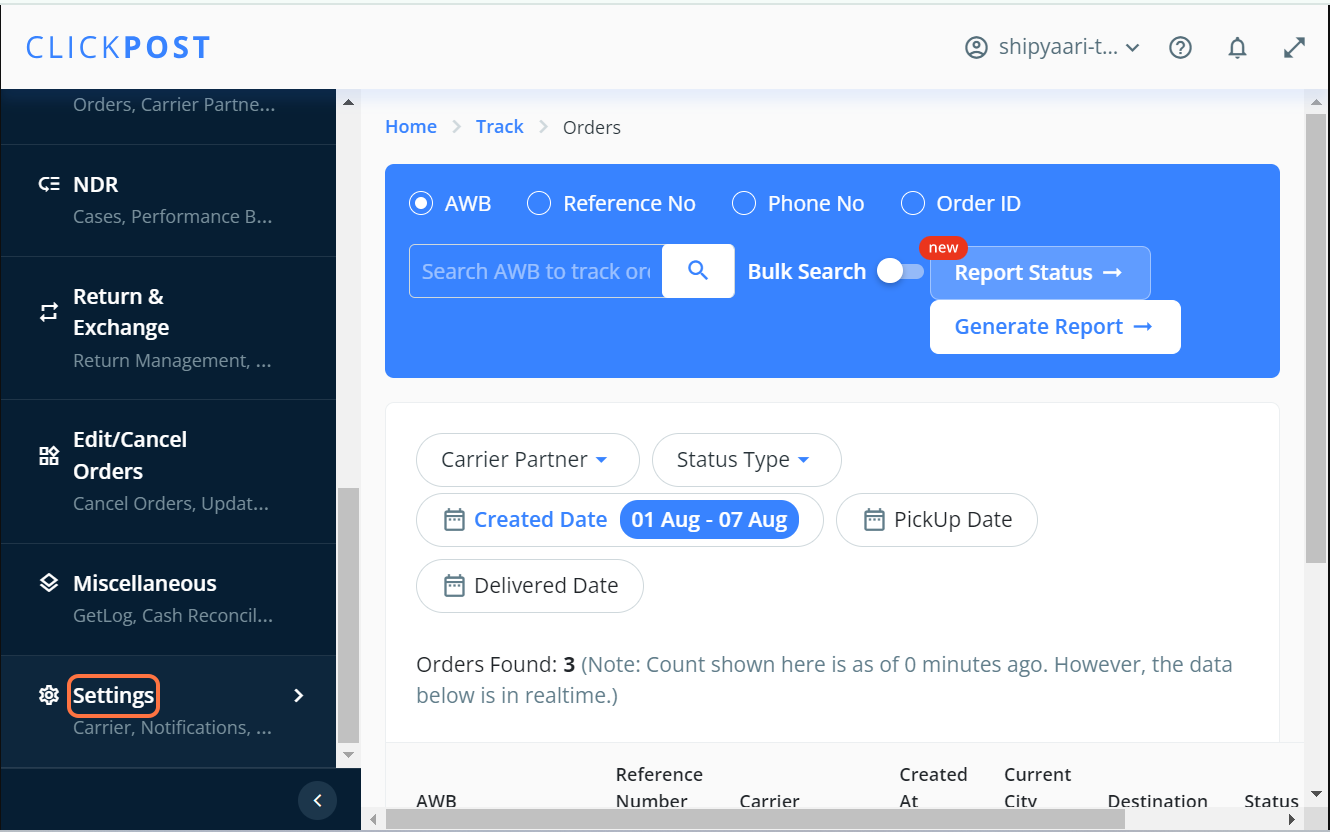
STEP4: Click on "Settings"
STEP 5: Click on "Carrier" drop down button

STEP 6: Select "Integrations" from the drop down
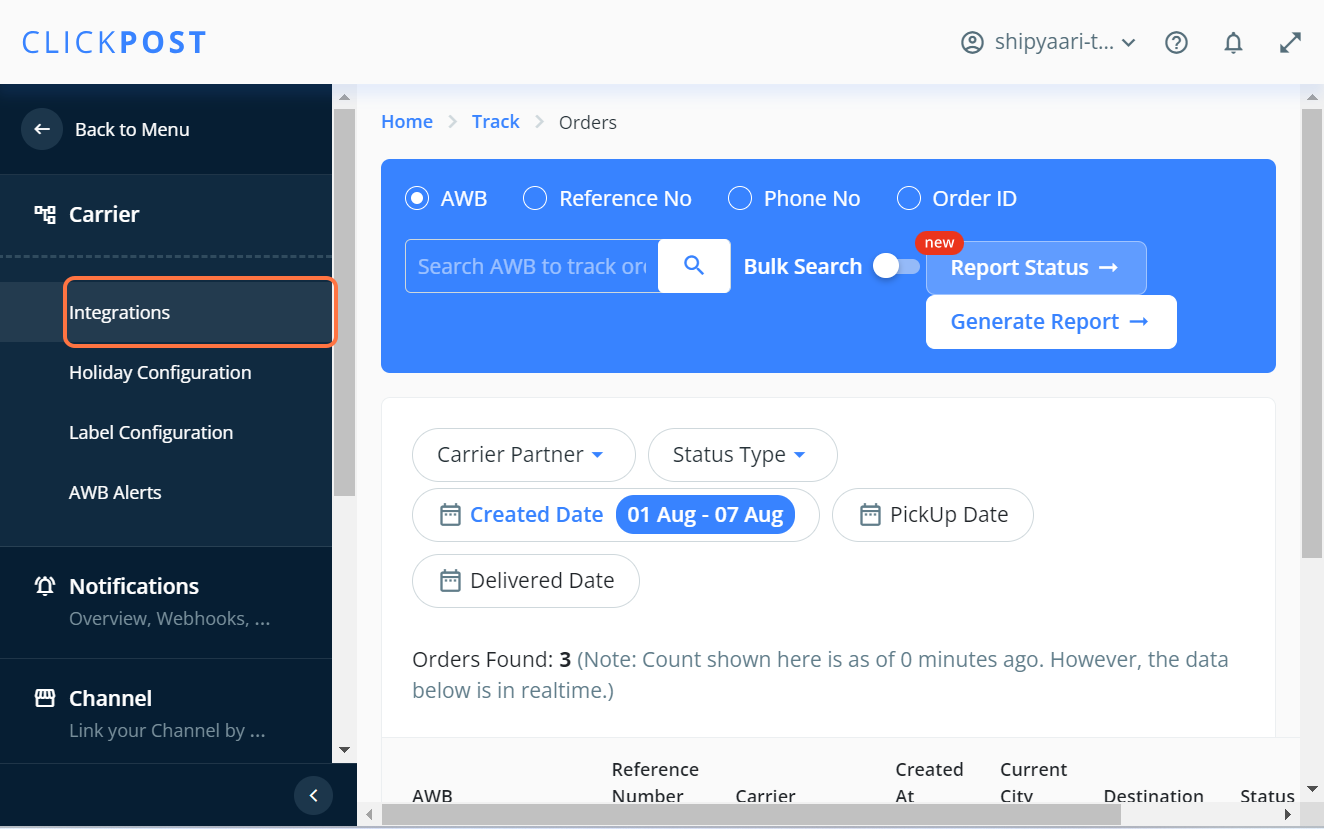
STEP 7: Search for Shipyaari in the Search box
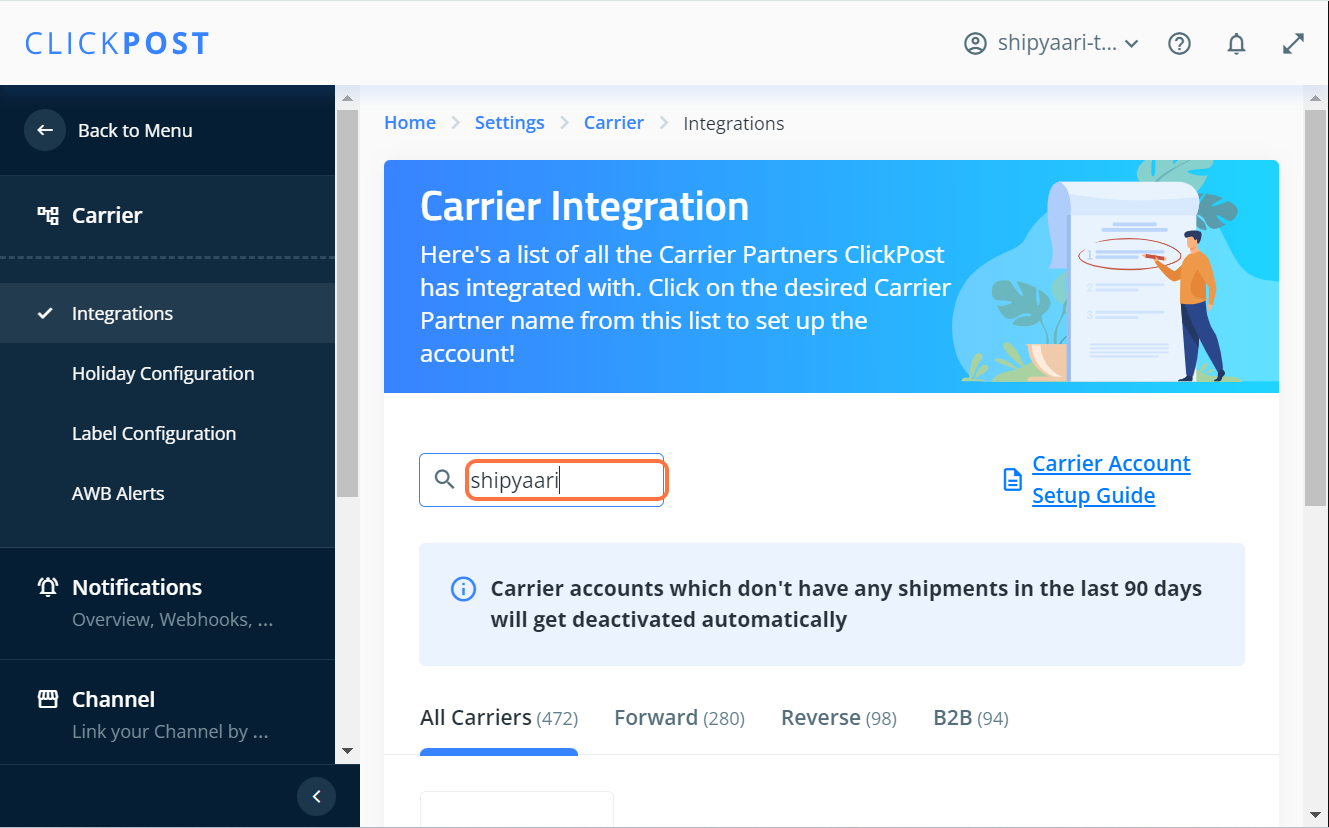
STEP 8: Click on Shipyaari for B2C shipments, and click on Shipyaari B2B for b2b shipments
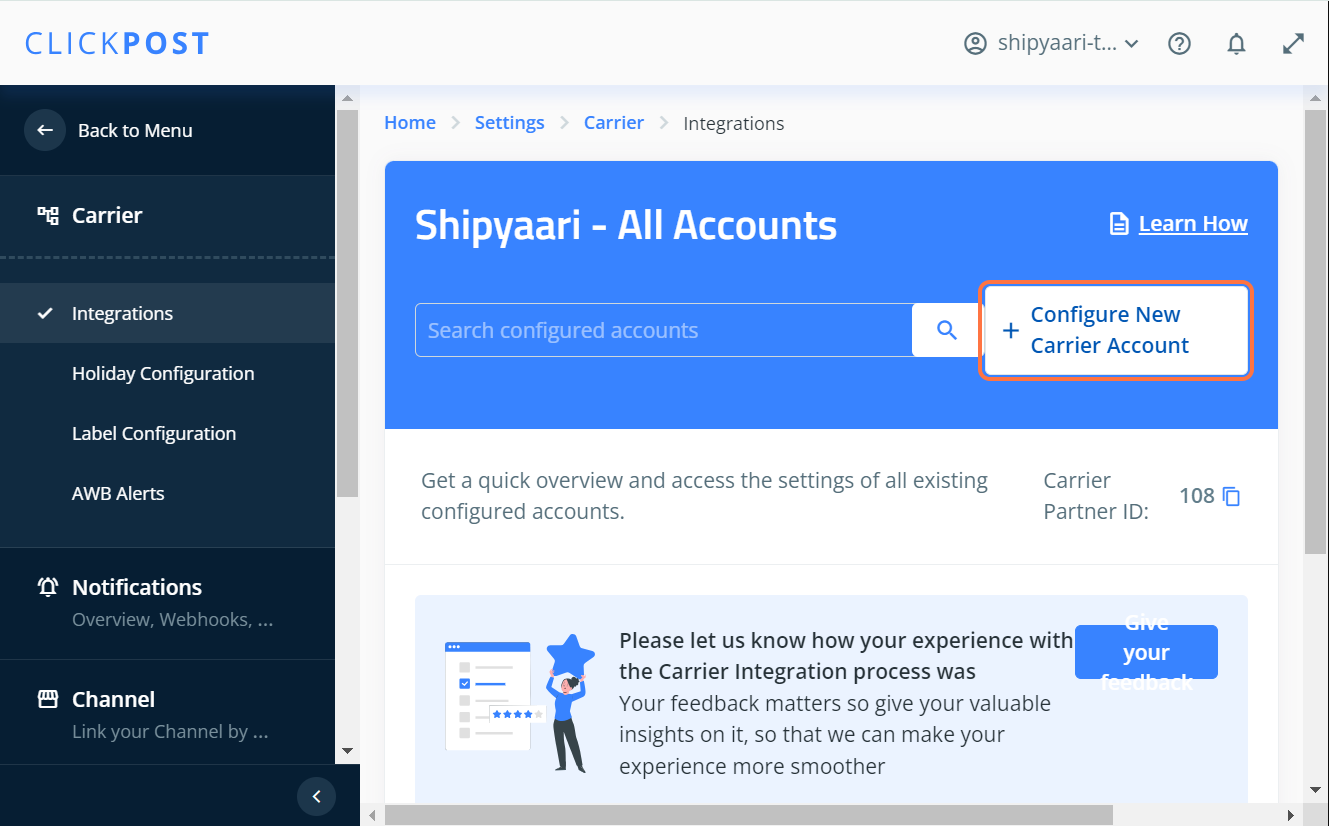
STEP 9: Find "Configure New Carrier Account" and click on it.
STEP 10: Enter the "Account Name" field and name it as per preference
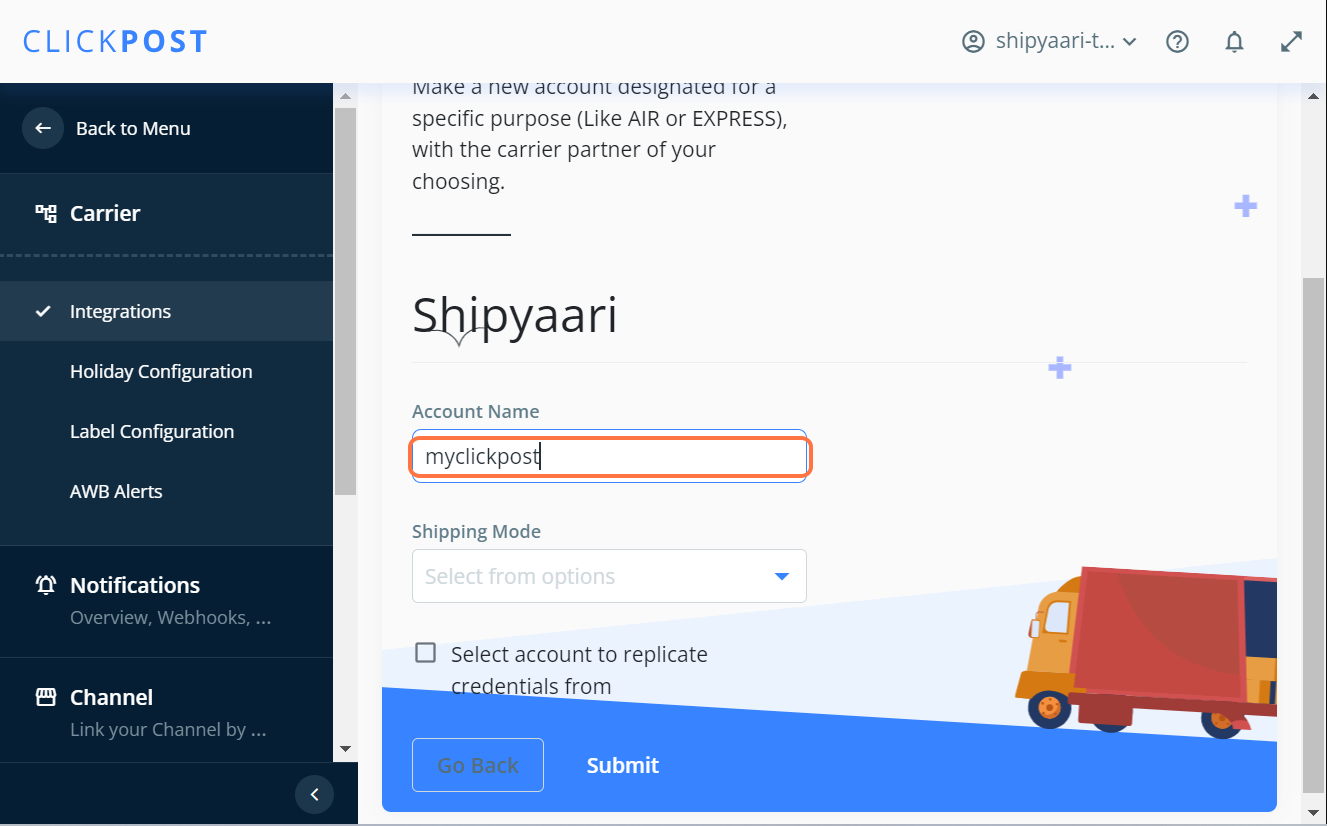
STEP 11: Click on Shipping Mode field to expand the dropdown
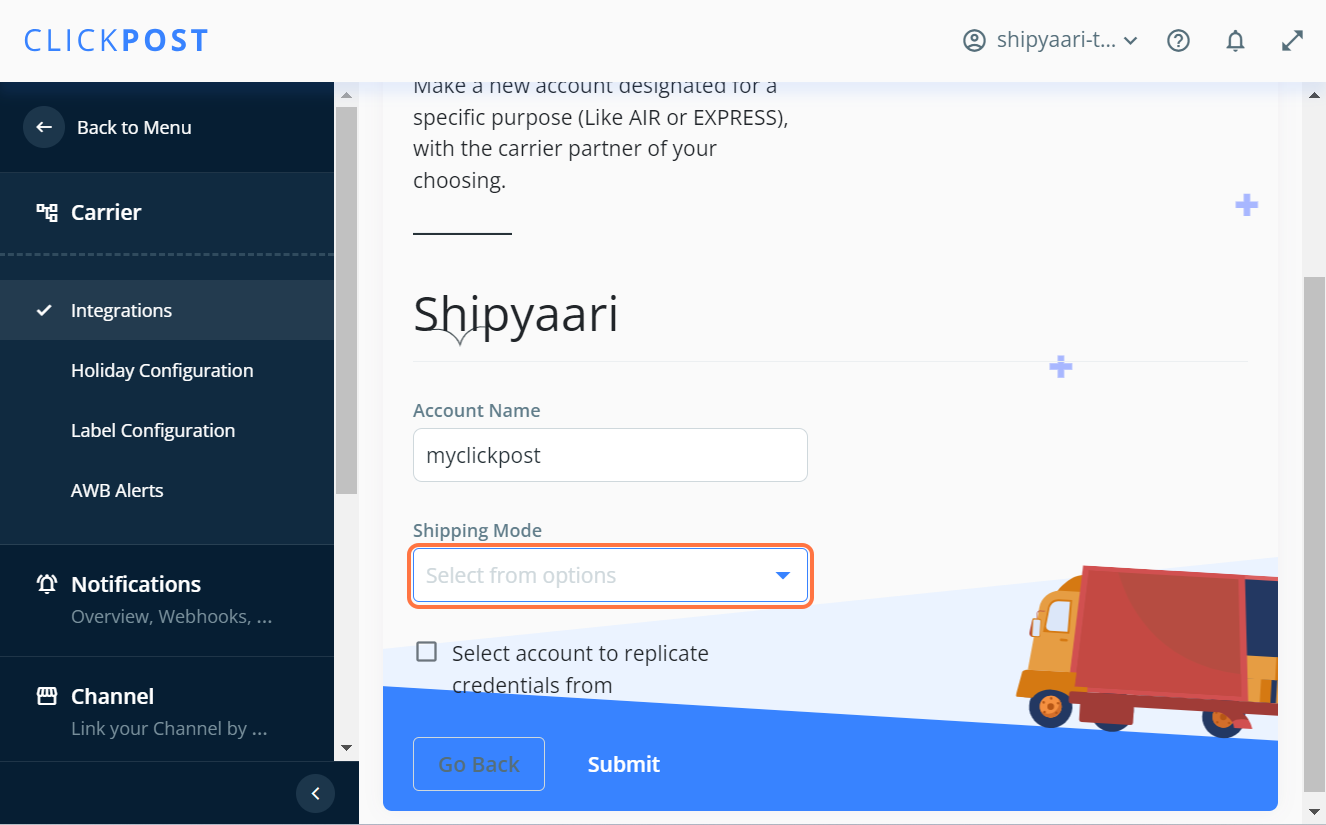
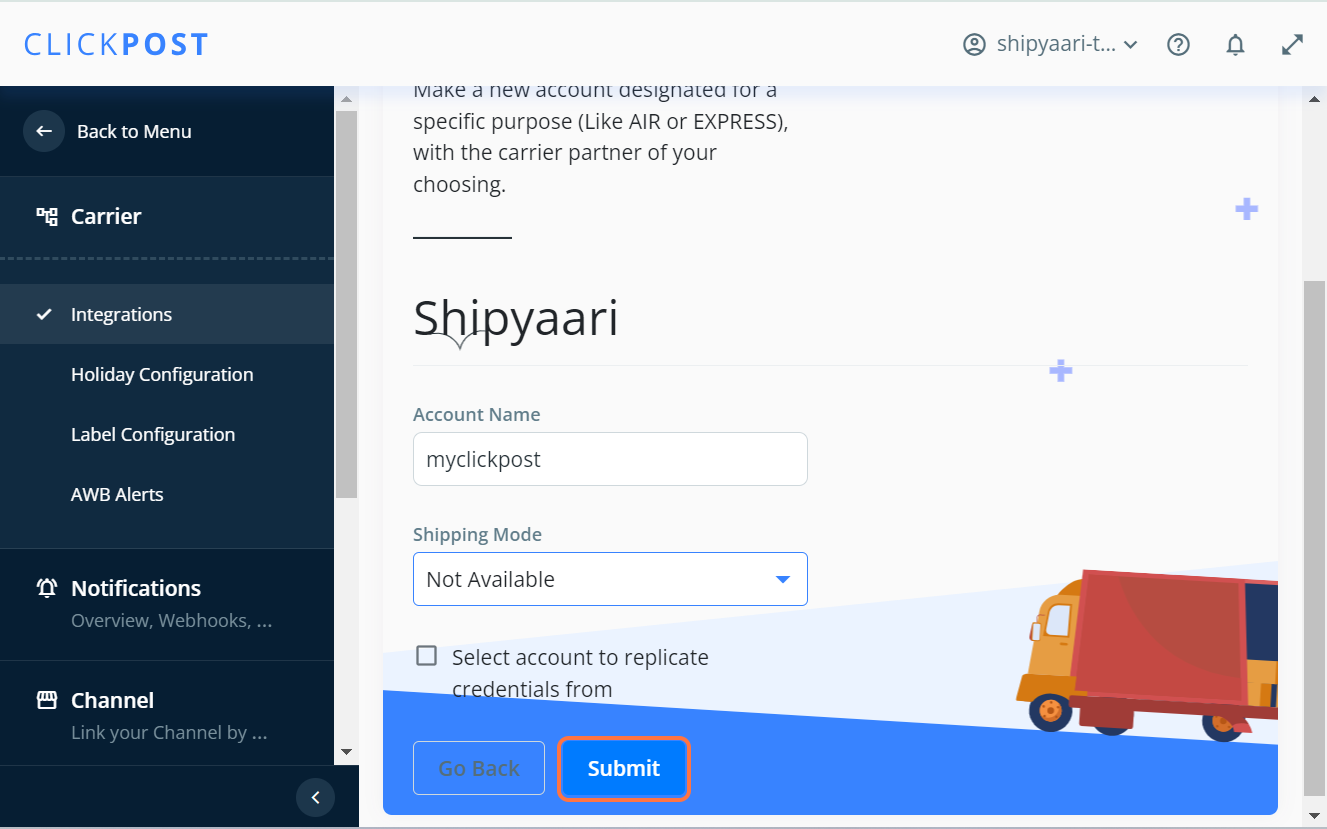
STEP 12: Select "Not Available" from the dropdown

STEP 13: Click on "Submit" button
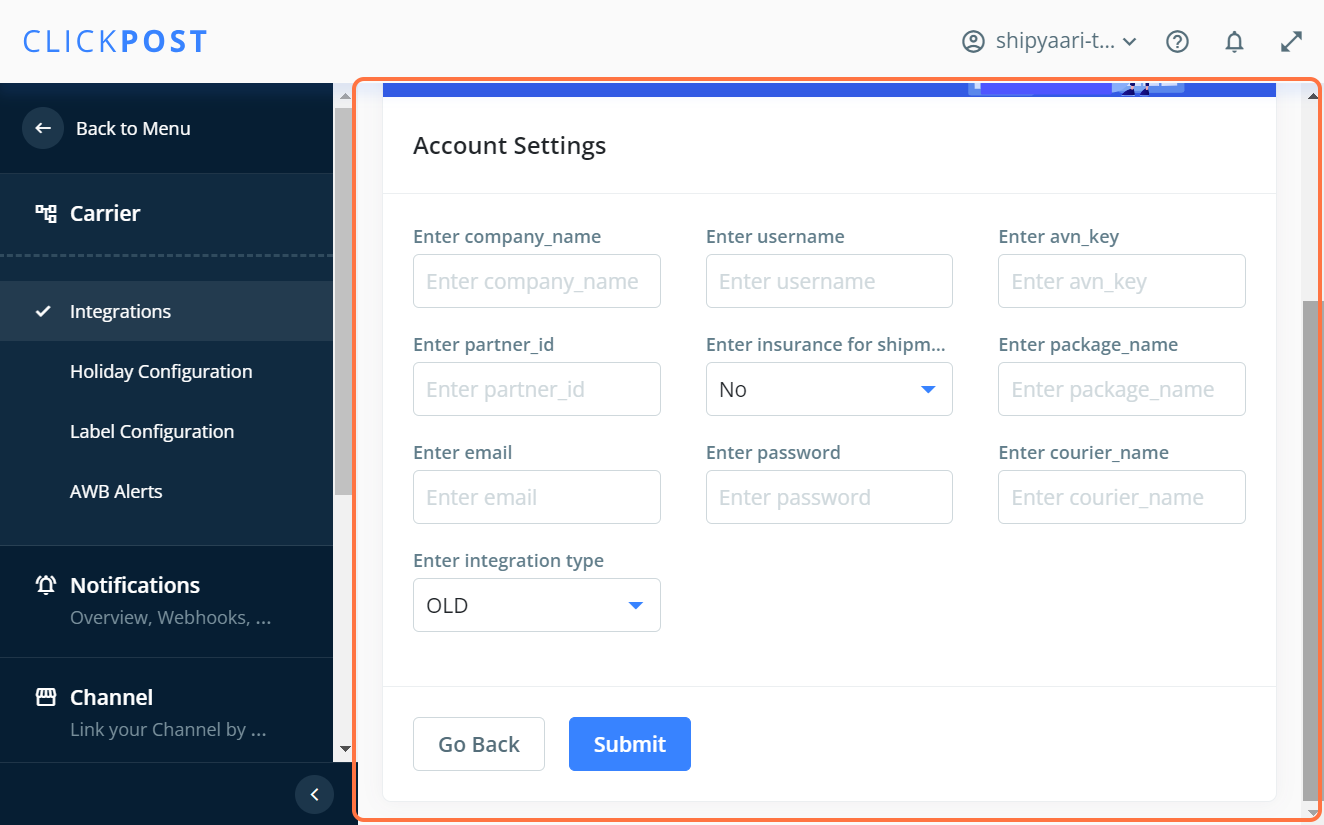
STEP 14: Enter all the requisite fields on the Account Settings page.
STEP 15: for "Enter Integration Type", click on the drop down to expand it.
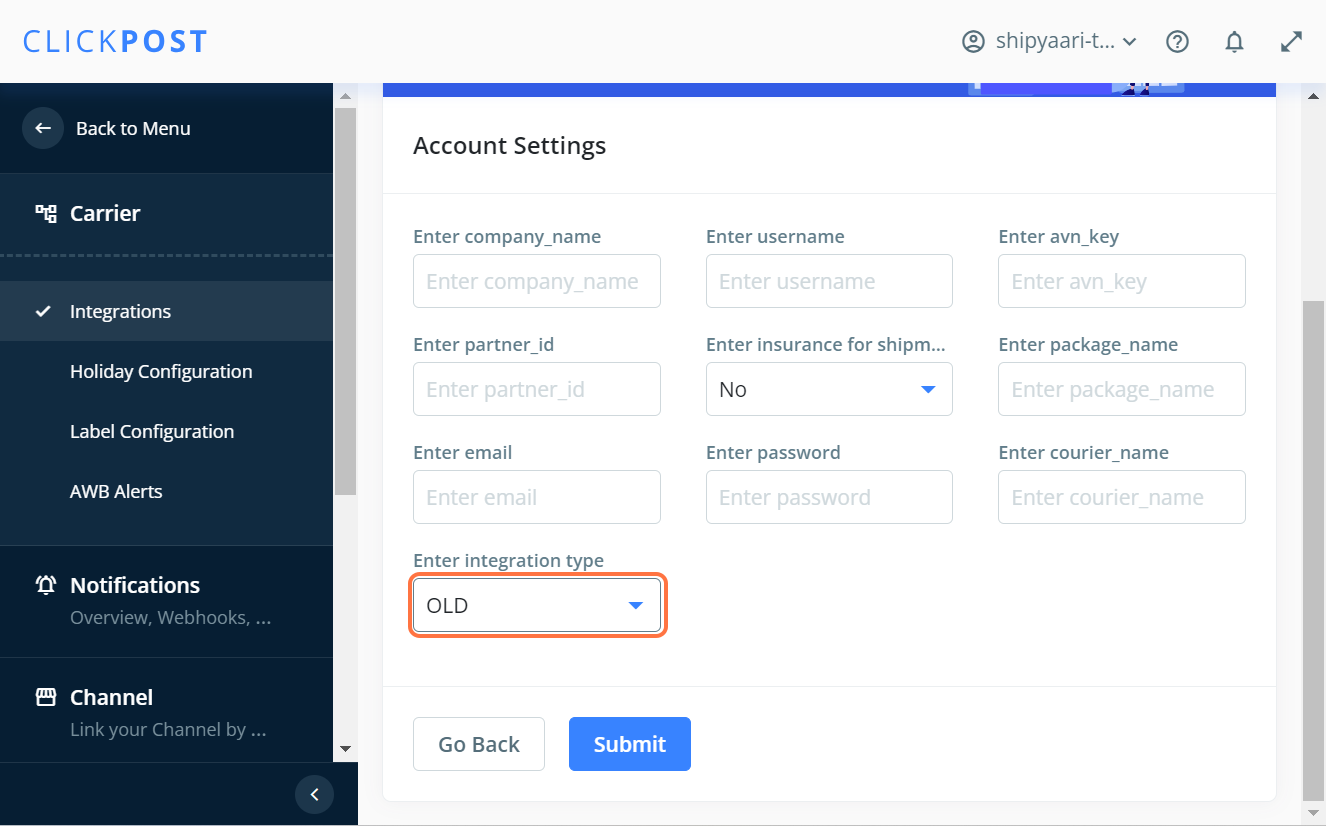
STEP 16: Select "NEW".
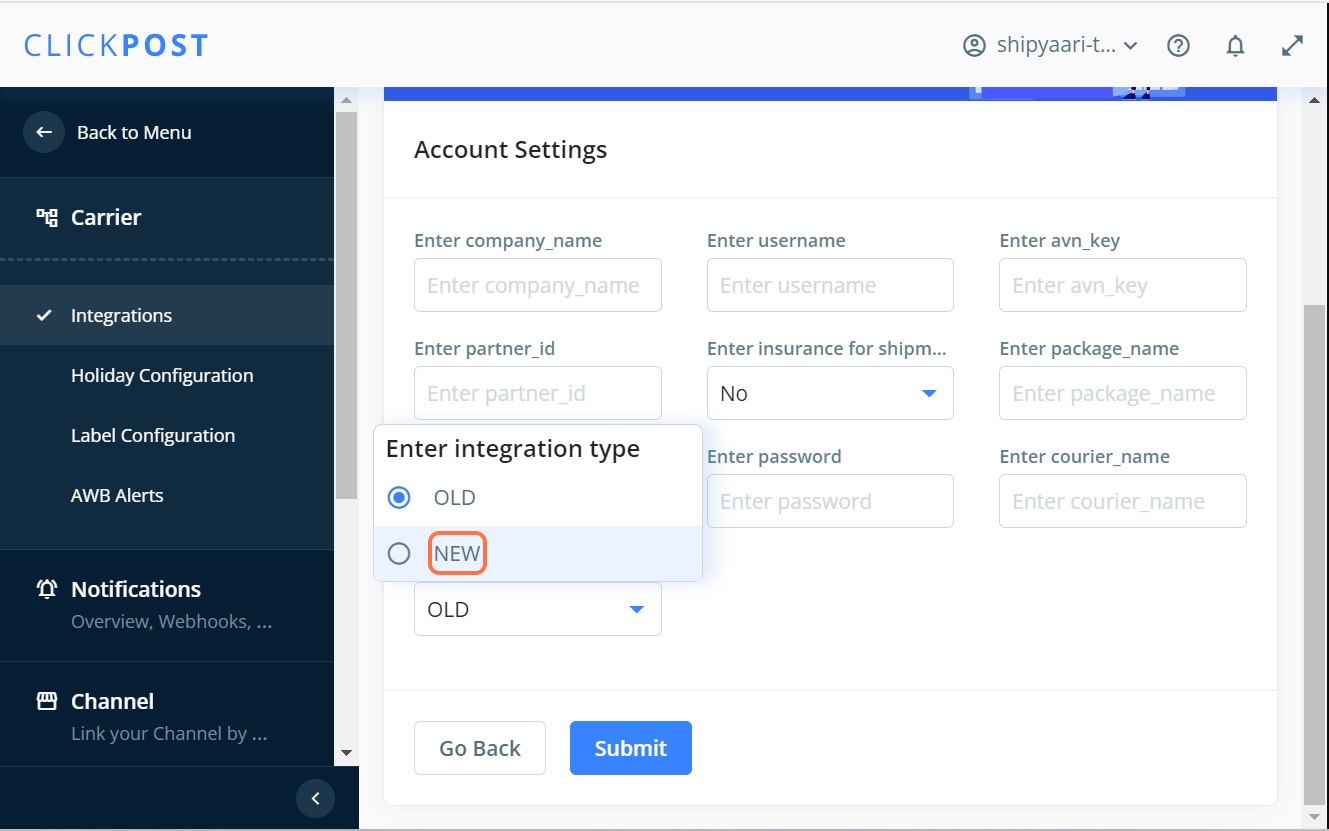
STEP 17: For "Enter package_name", enter "Box_1" and click on Submit.
Once submitted, the message for successful integration pops up on the screen and hence the integration is complete.
