STEP 1: Login to your Shipyaari Blaze account.
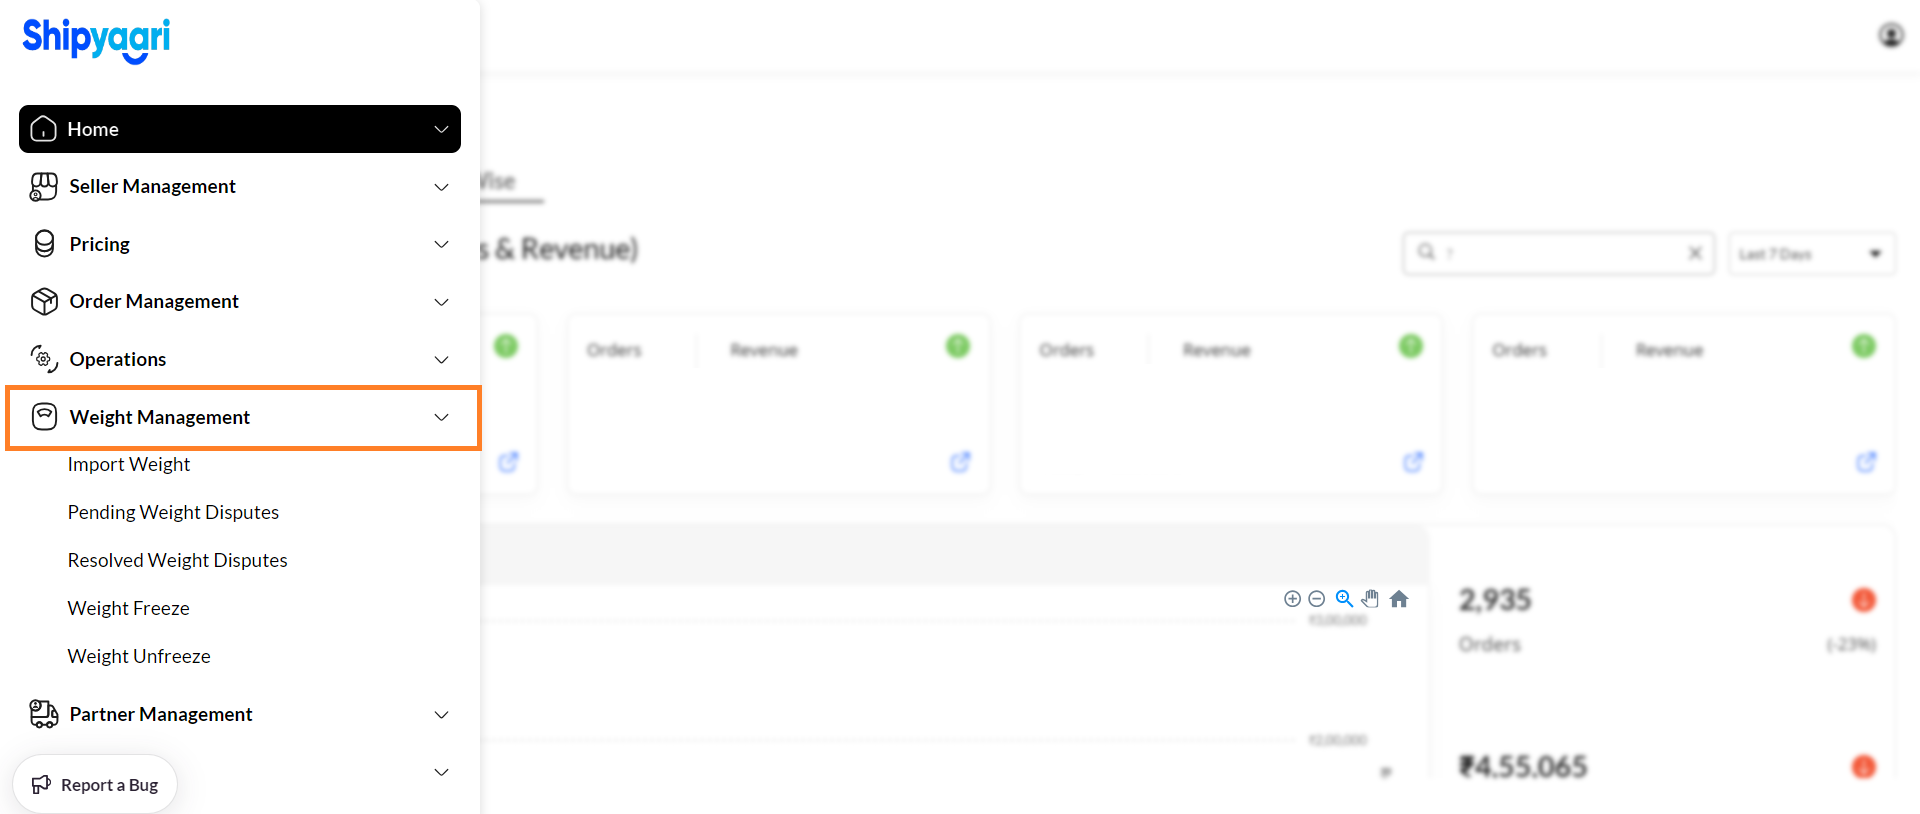
STEP 2:Navigate to Weight Management from the side menu
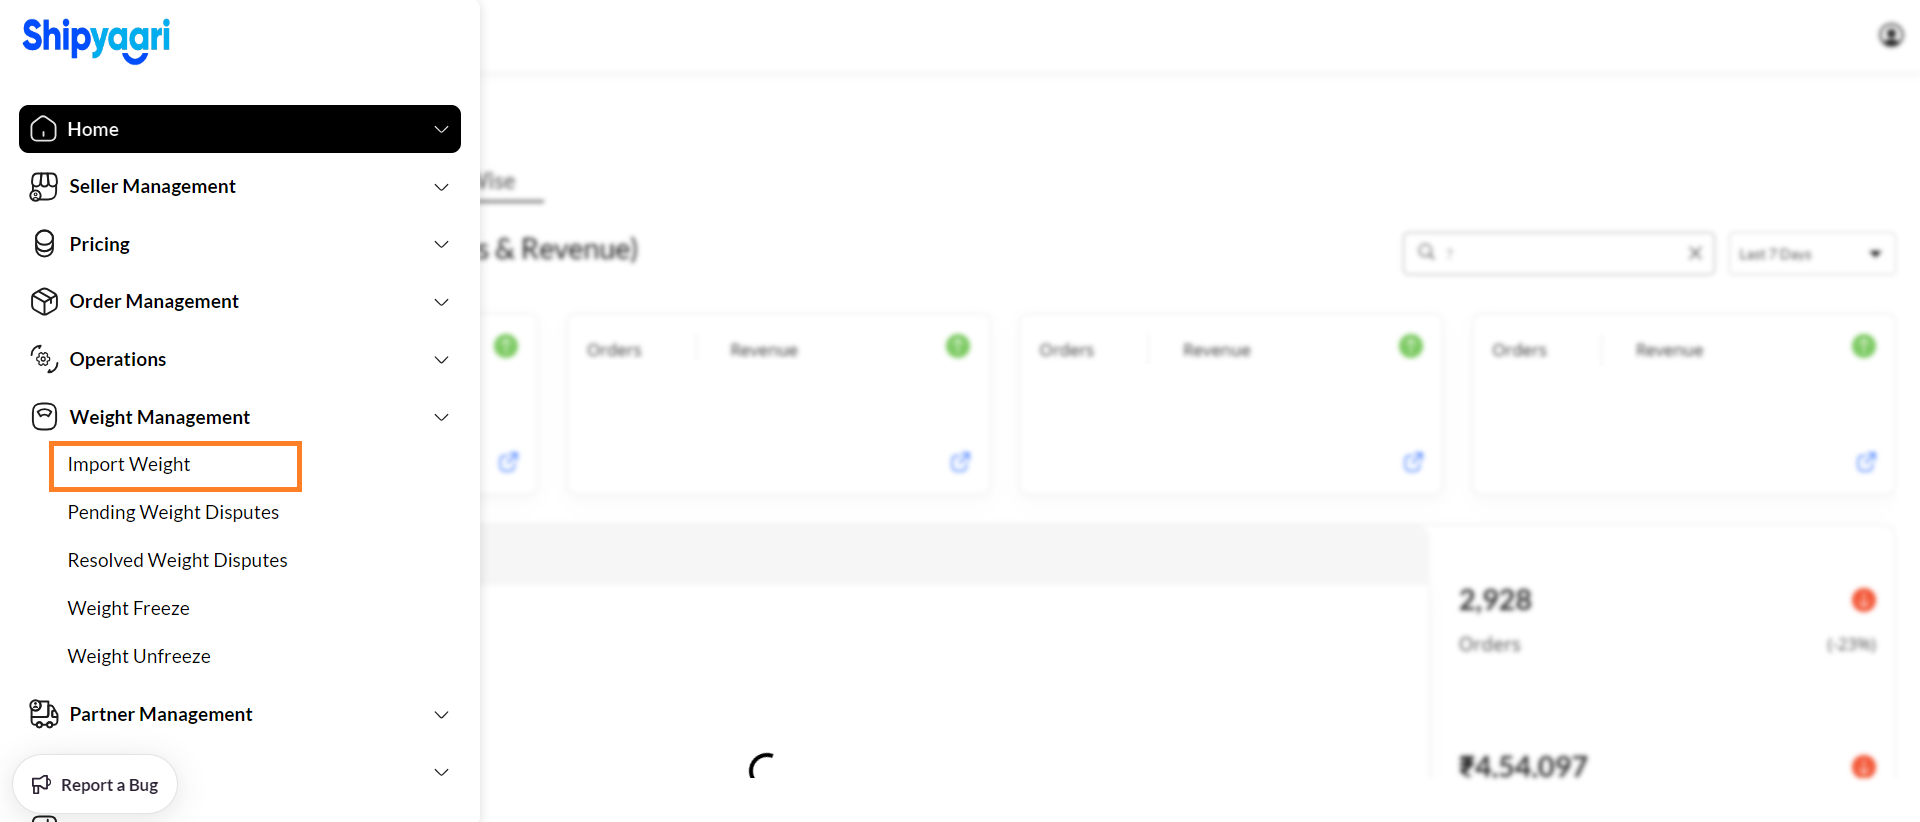
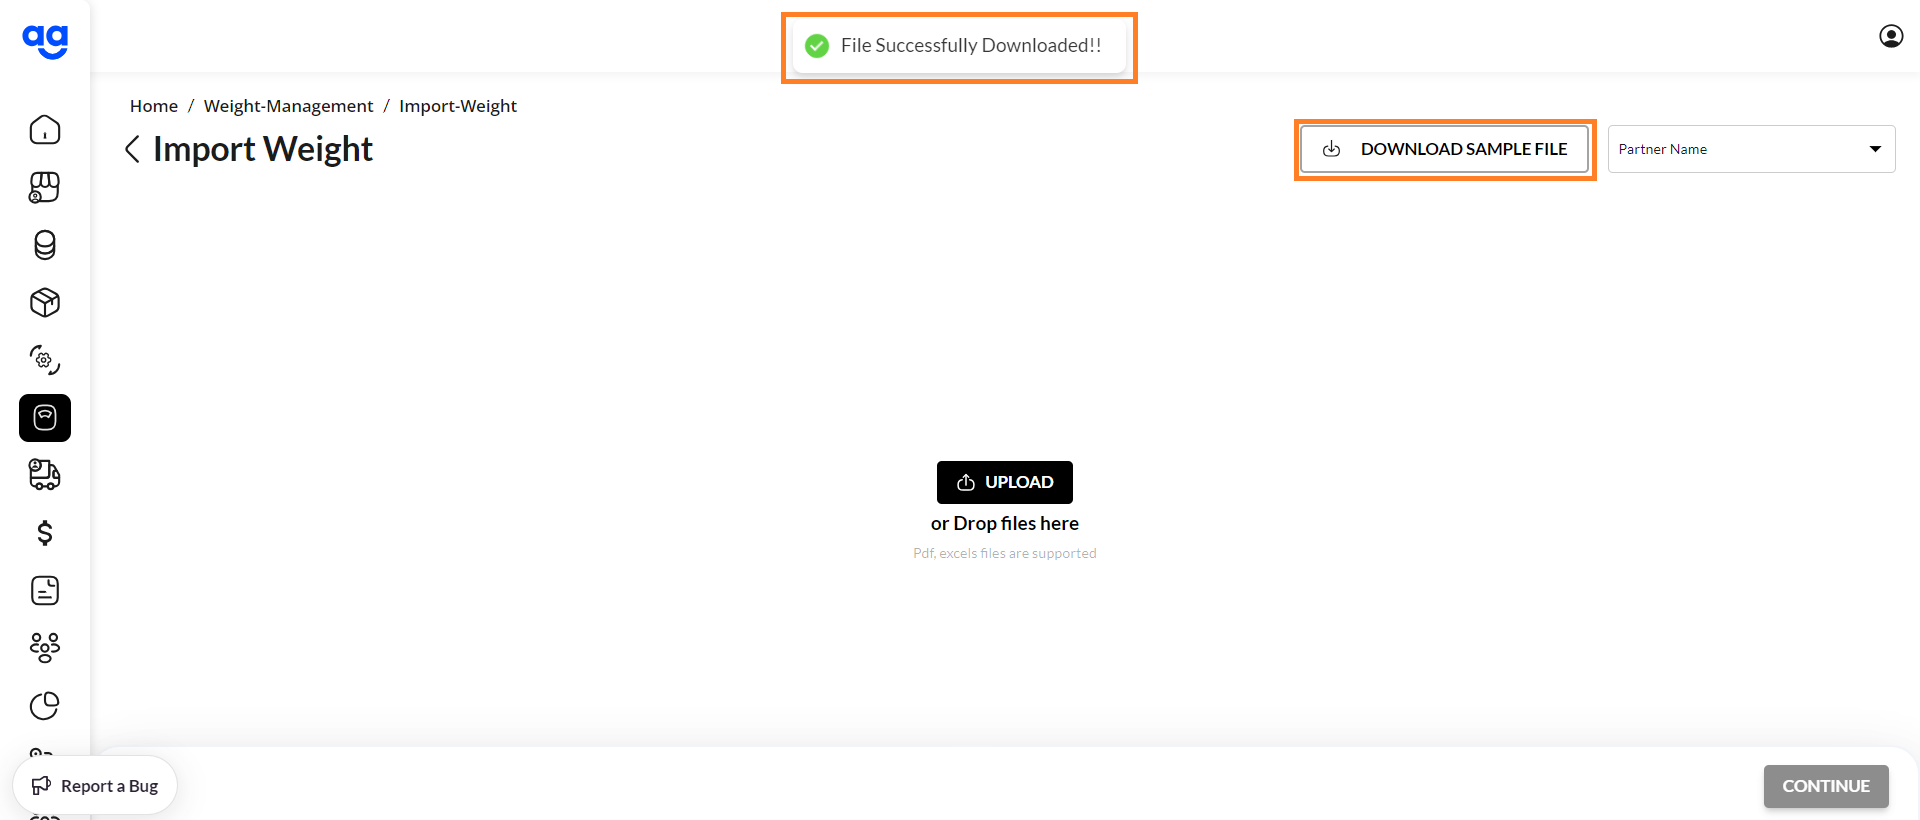
STEP 3: Click on Import Weight
STEP 4:Click on Download Sample File
-
Message for successful download pops up for the file.
-
Work on the file against respective fields.
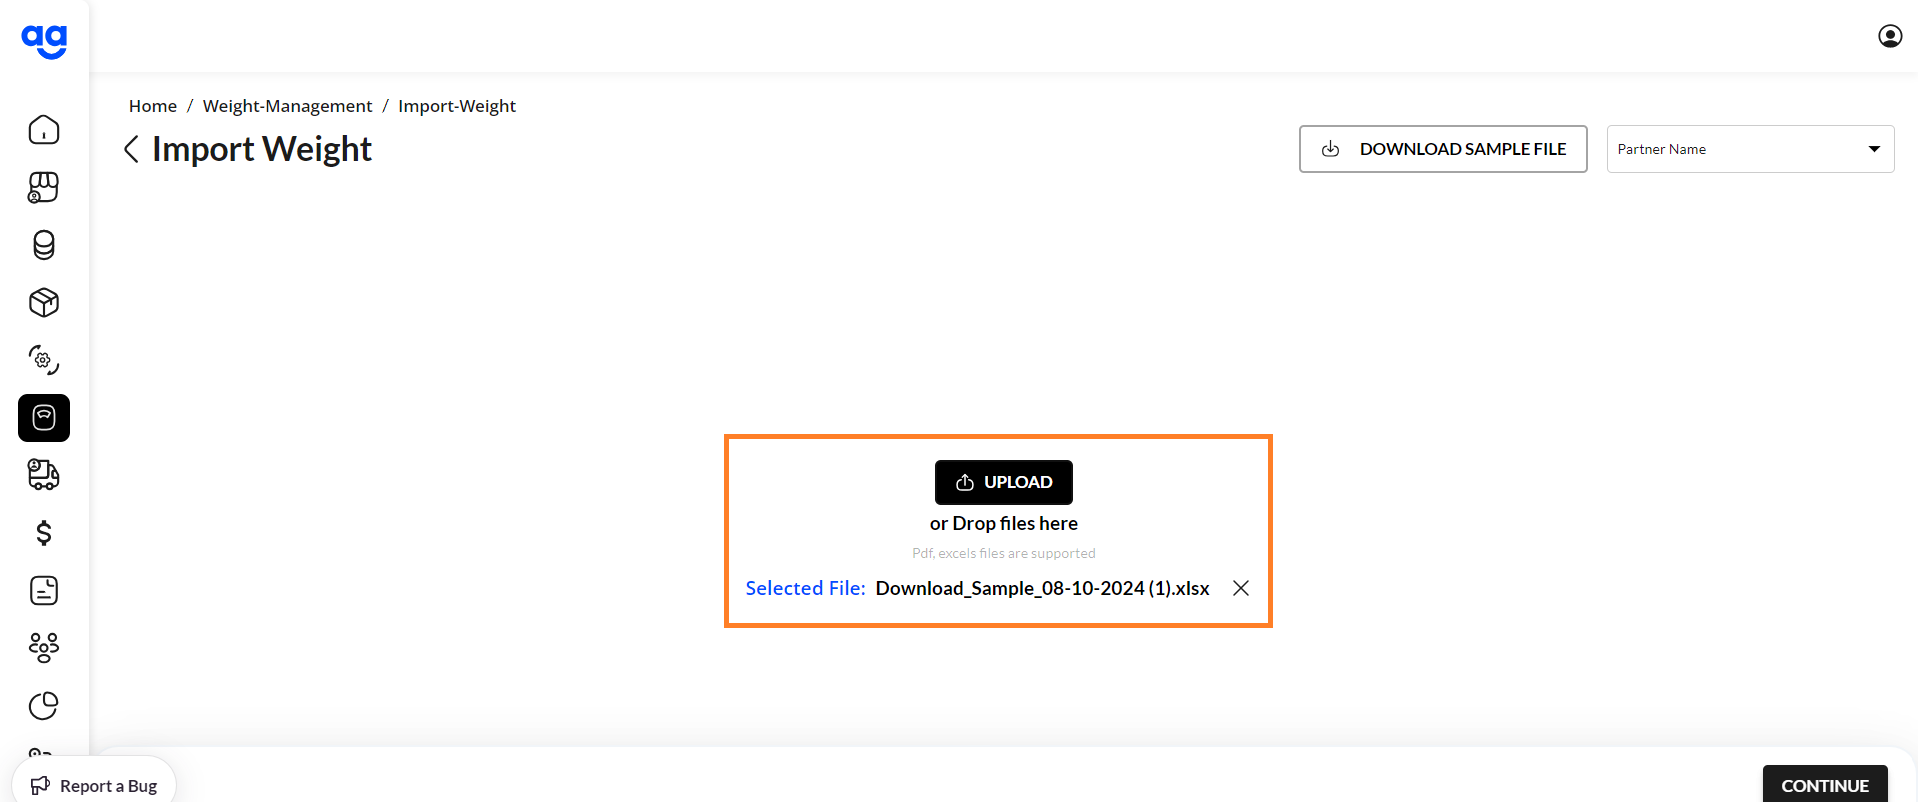
STEP 5: Click on upload file.
- Confirm using the 'Selected File:' text below the upload button.
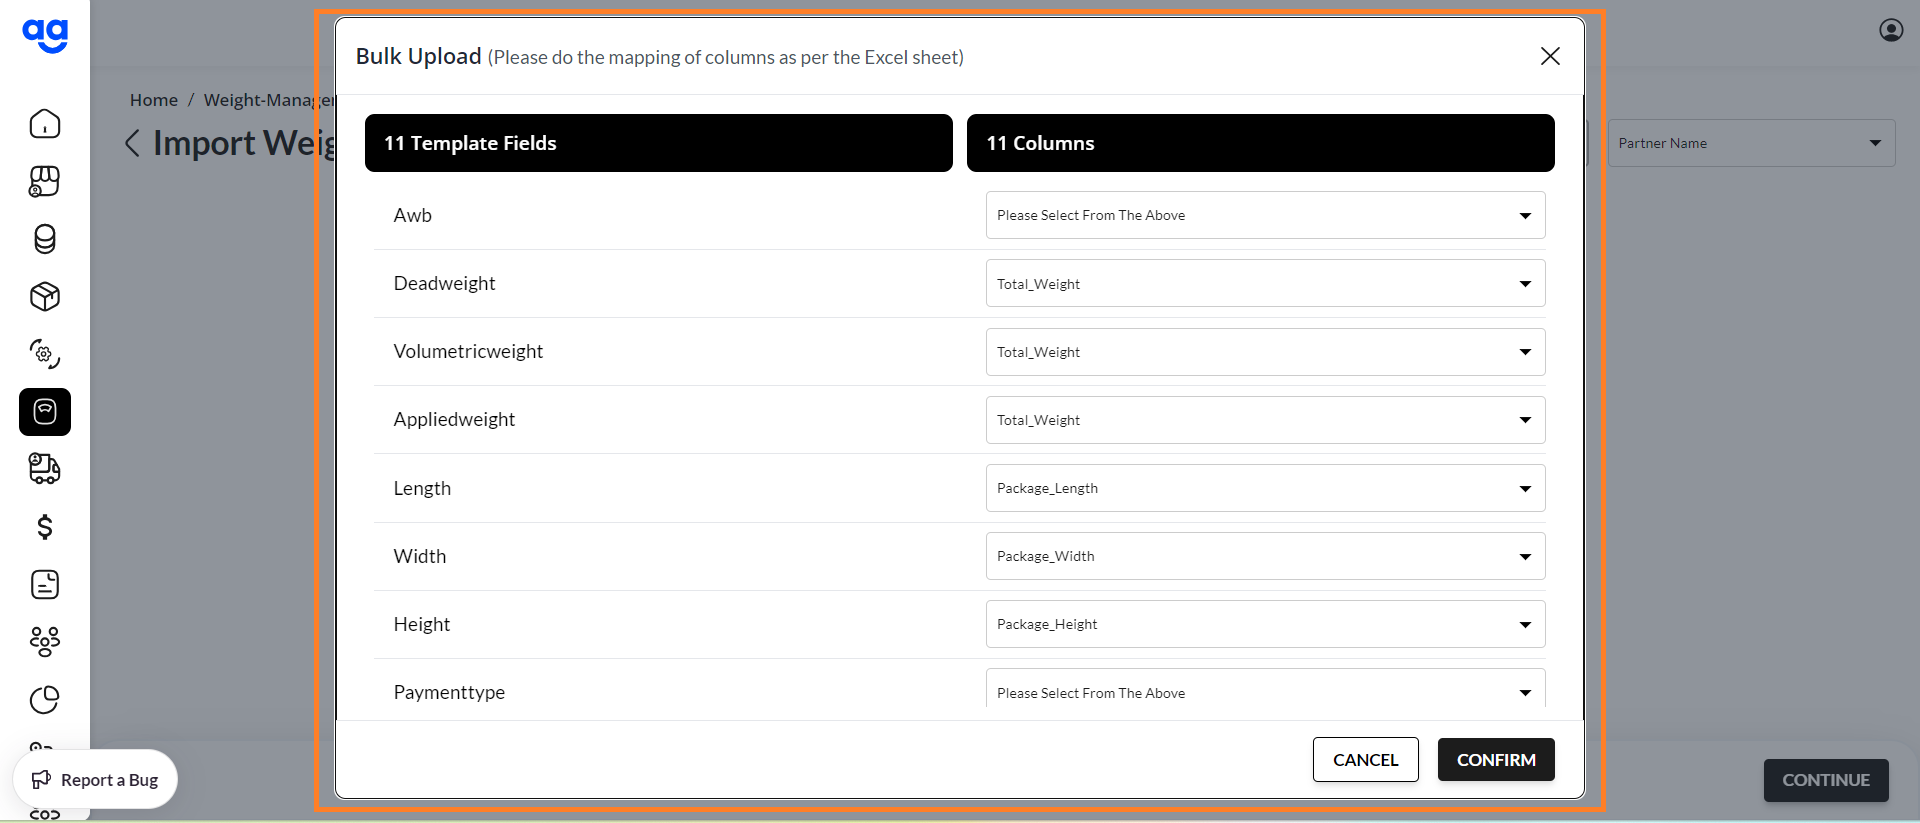
STEP 6: You can map the template fields with the dropdown fields on the screen, if you had selected the Partner name on the previous screen.
-
This is a one time activity and once mapped, the default setting for the resoective partner shall remain intact.
-
You can ignore the mapping by clicking on "CONFIRM" button.
STEP 7: Finance admin can uplaod image on behalf of both Partner and Seller.
- In case, images have been uploaded, the same shall reflect with the respective texts.
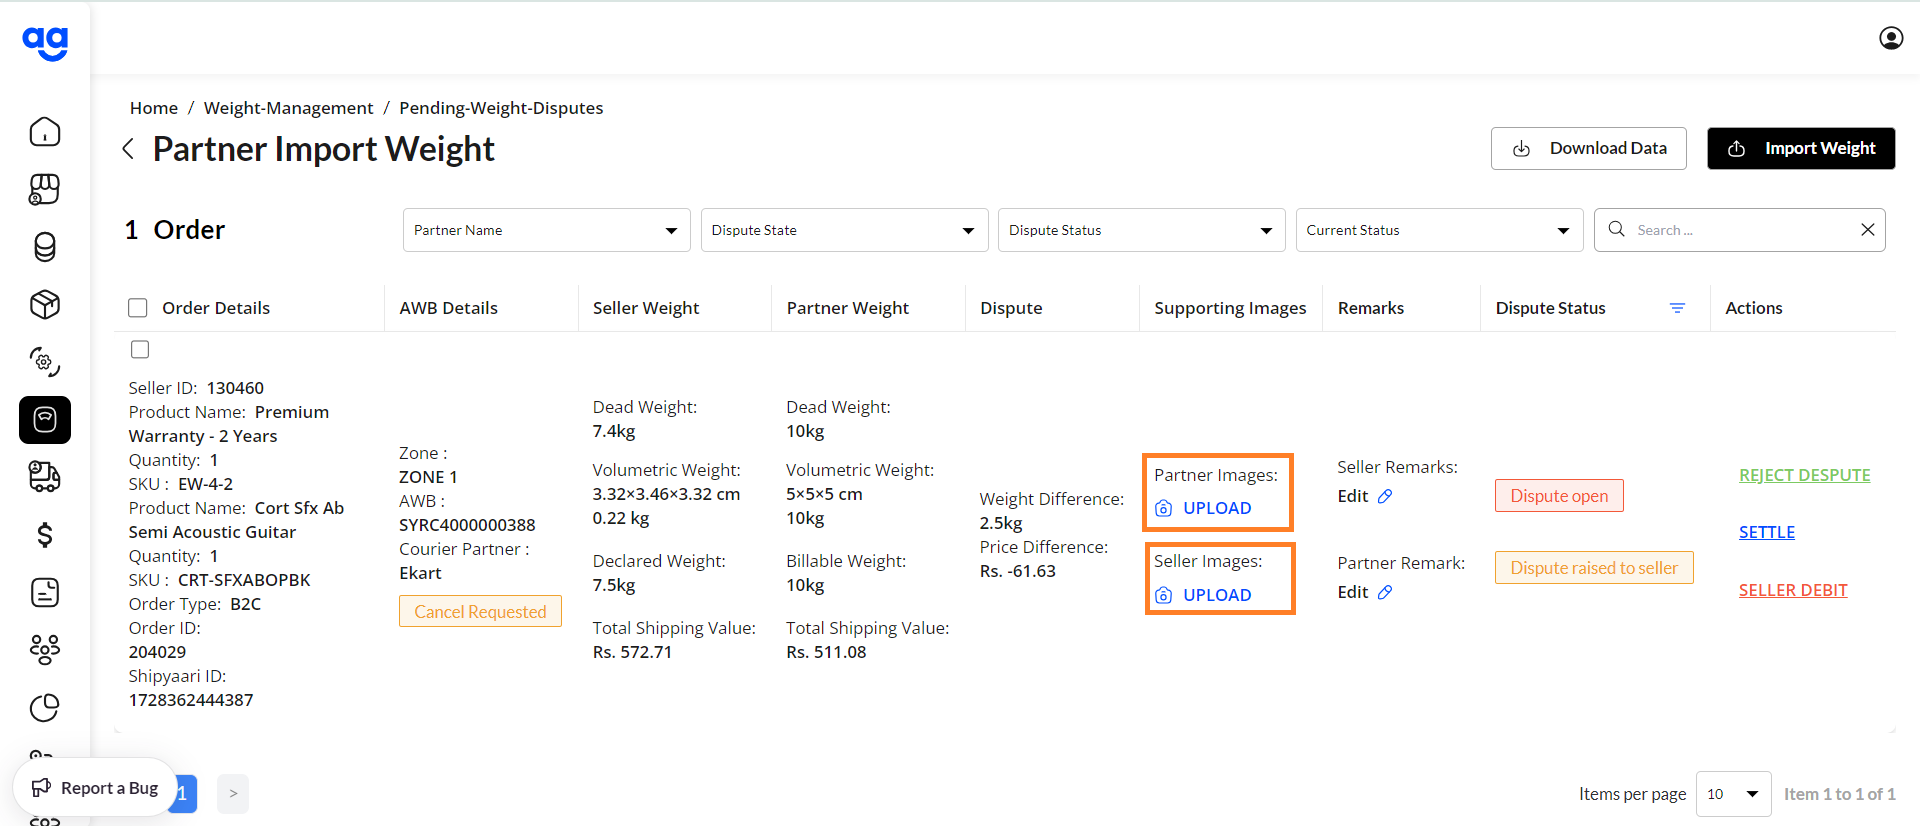
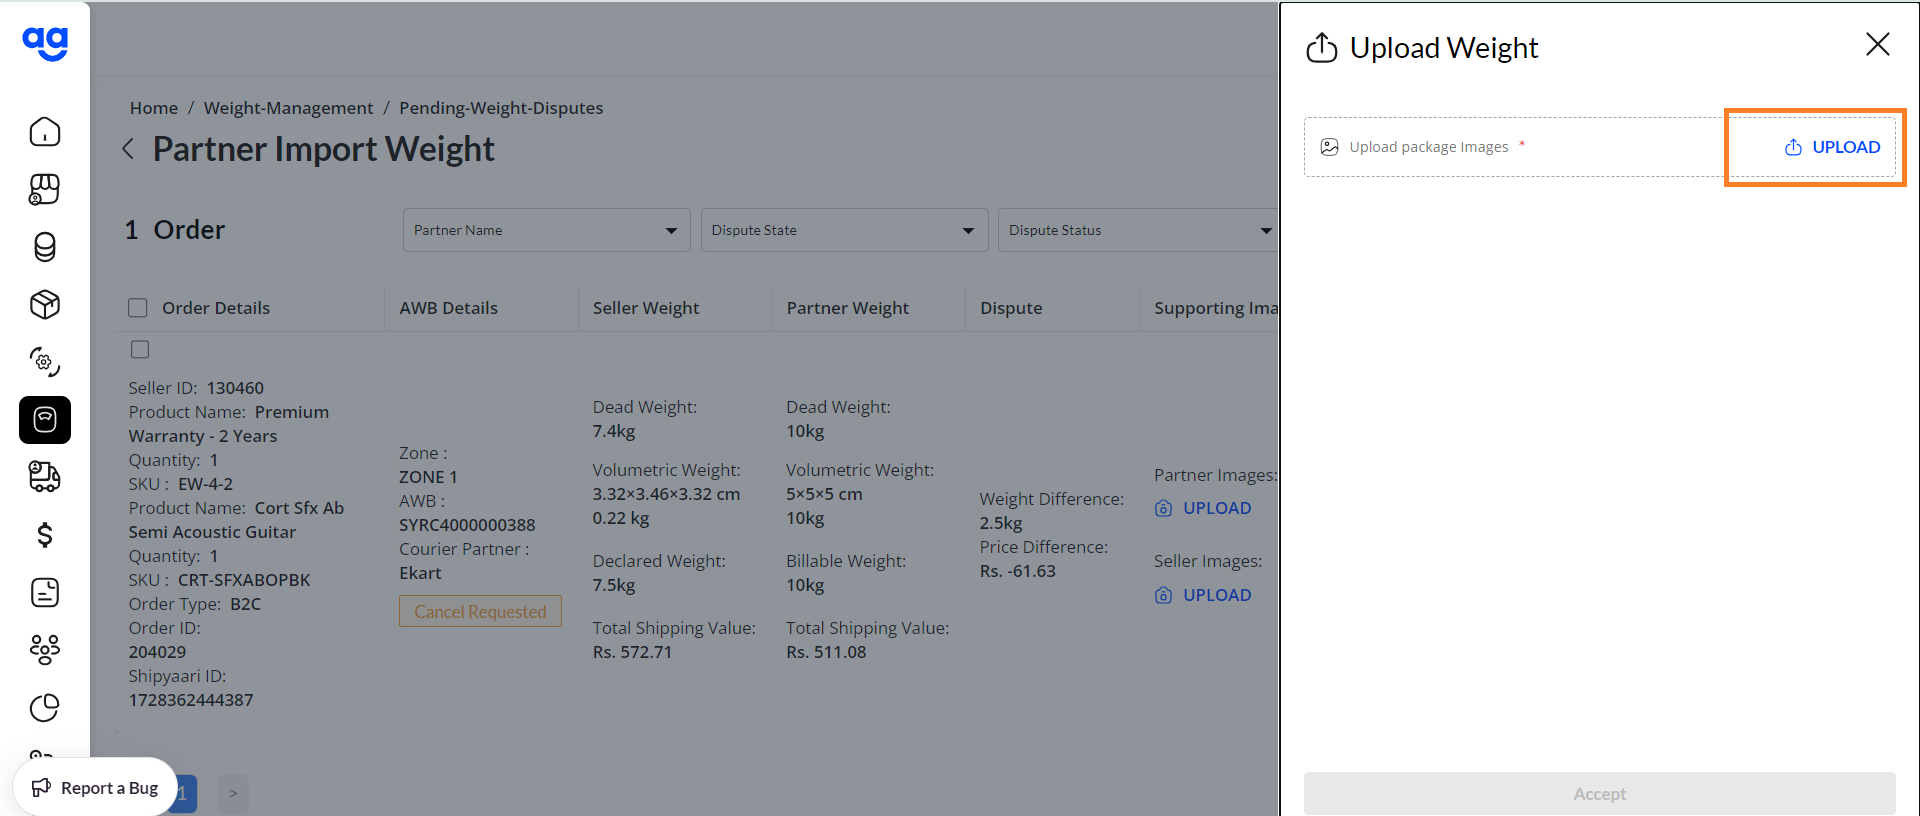
STEP 8: If you click on Partner Image "UPLOAD" button, side panel for uploading the image shall slide in.
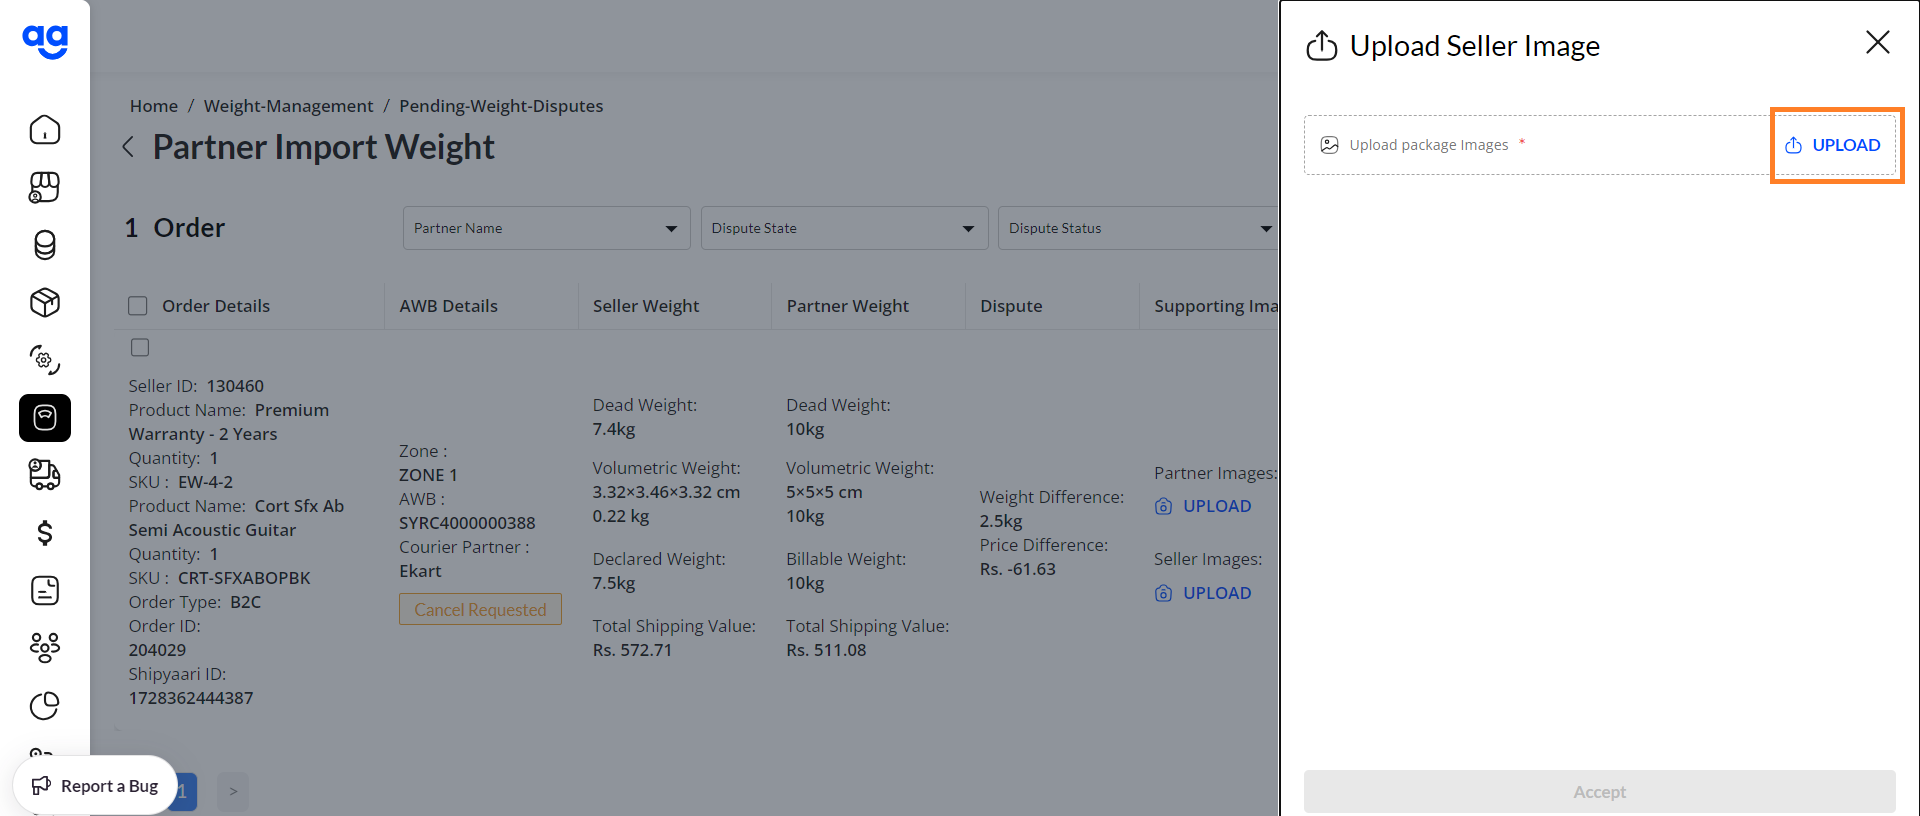
STEP 9: If you click on Seker Image "UPLOAD" button, provision for image upload shall slide in on the side panel.
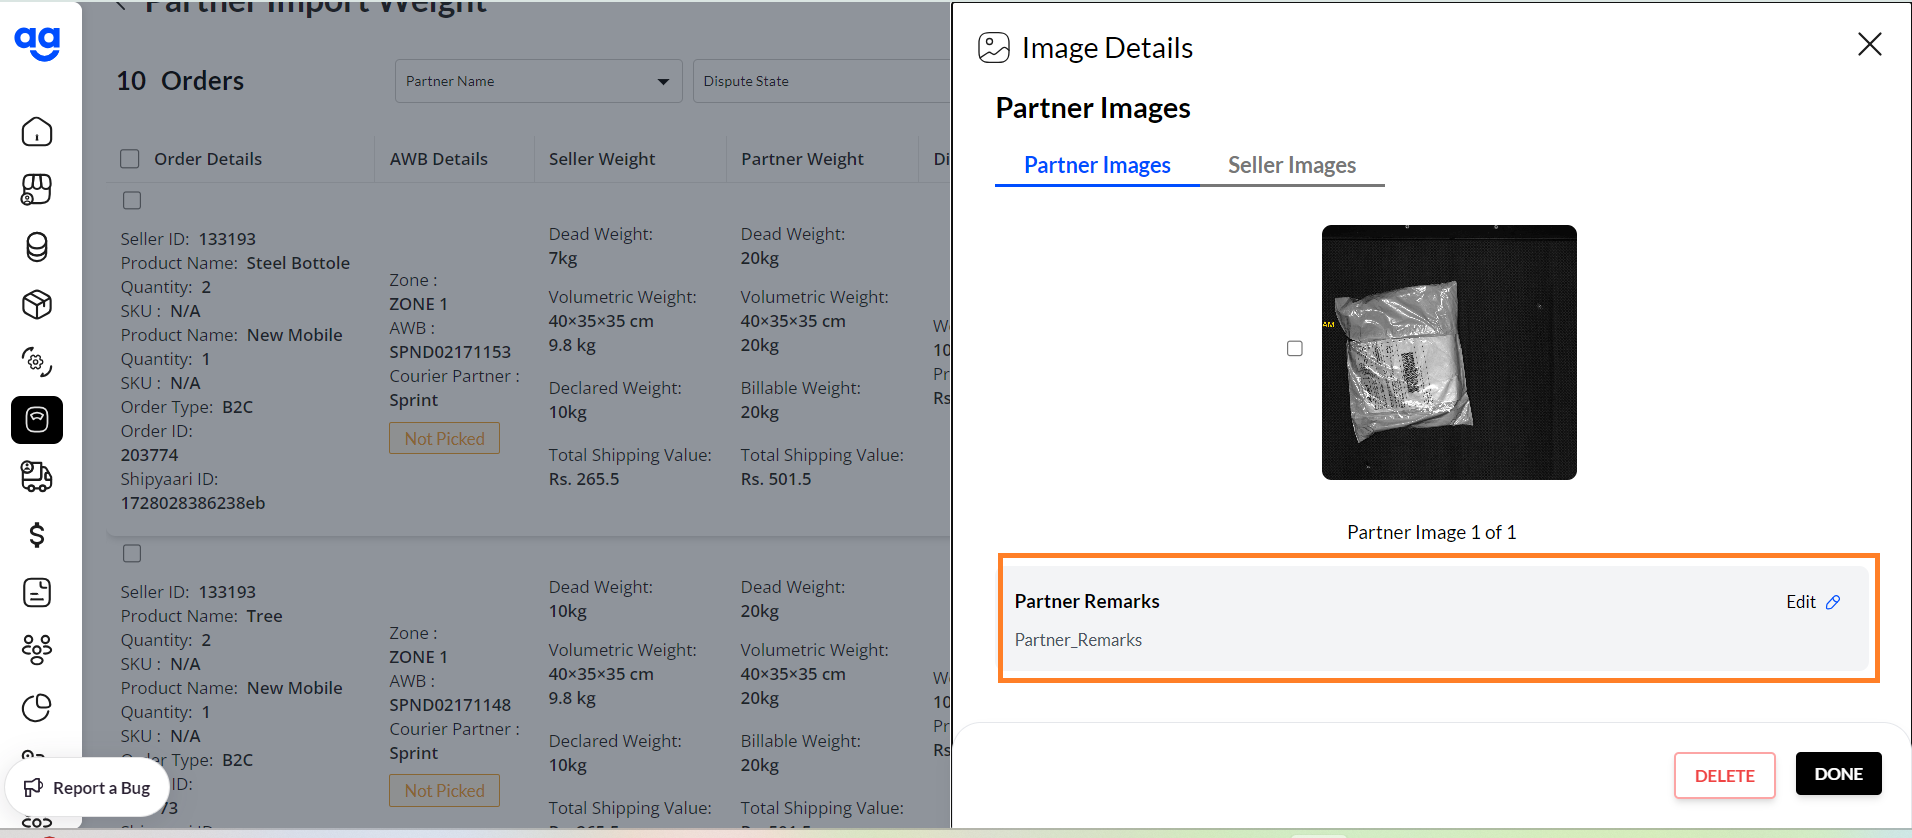
STEP 10: In case image has been provided as a link in the uploaded sheet, it shall reflect on the side panel along with the Partner Remarks.
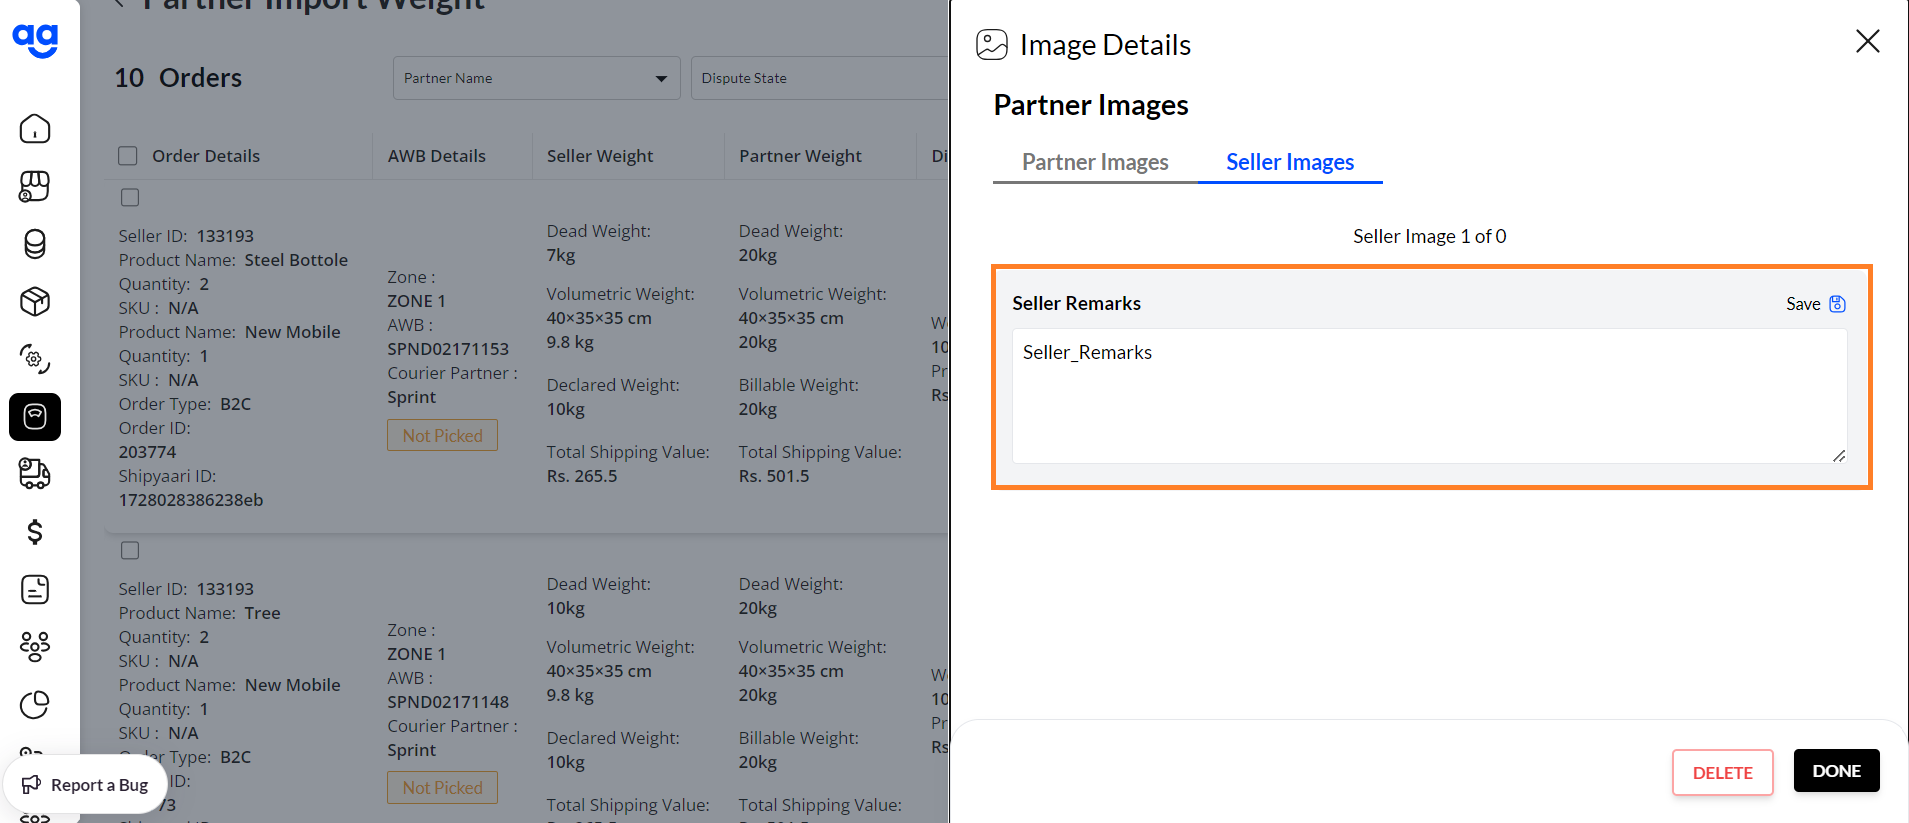
STEP 11: The same as above can be seen from the Seller Images tab on the side panel.
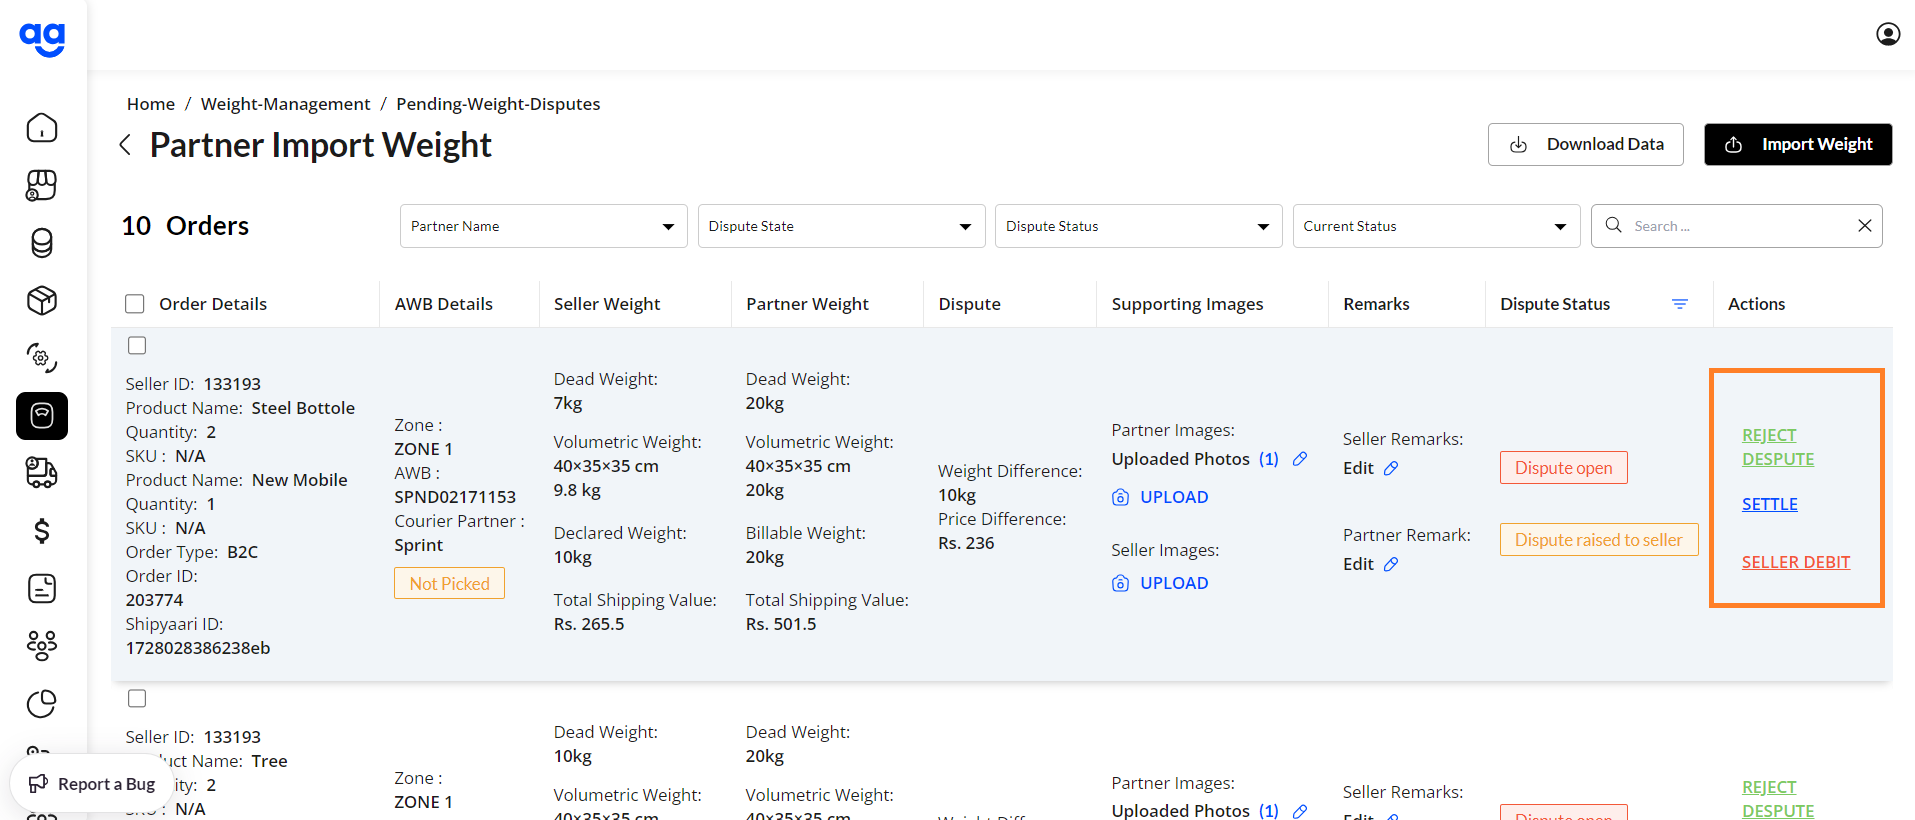
STEP 12: Once verified by the admin on the dispute images, the Finanace admin shall have the following rights:
-
Reject the dispute raised by the partner using the "REJECT DISPUTE" button.
-
Accept the dispute raised by the partner and mark the debit from the seller wallet using "SELLER DEBIT" button